Getting in the Mode
2025-04-25
Initial impressions of the Mode SixtyFive BuildI’ve finally gotten around to building my Mode SixtyFive, considering it has been sitting in the corner of my room for the past 4 months, it has been a long time overdue. Admittedly I have been putting it off due to being intimidated by the need to solder the switches onto the pcb, I blame Mode for not offering a split backspace for their hotswap boards.
But now the board is built I would say I enjoyed soldering the most out of the whole process. Not like this is my first custom keyboard as that would be the Heavy Grail by Ryan Norbauer, and I have been using HHKB layout for the past 5 years. Now you probably see why I needed a split backspace as muscle memory, plus it is the superior layout of course.
This blog post is going to document my initial impressions of the Mode SixtyFive and the whole build process of the keyboard. Maybe you’ll find it useful and help any first time builders not to put off building your keyboards for 4 months.
First Thoughts on the Mode SixtyFive

Before I go into my initial impressions for the Mode SixtyFive I probably should do a list of all the parts I’ve used for this build:
* GMK Honor keycaps
* Mode SixtyFive (Polycarbonate top, Sliver mirror bottom and accent)
* POM plate
* Durock V2 stabs
* Cherry MX Brown switches
* Foam kit
Admittedly I am using probably the most hated switches in the hobby, what can I say I like the scratchy feel… But overall I feel like I have a good mix of parts and that the keyboard fits in with my overall aesthetics of my setup. The only thing I’m not that used to is having characters on my keycaps, yeah I usually like not knowing where the special characters are located.
Mode themselves have a great build guide for the Mode SixtyFive which I followed along to, which I would recommend any person who is building the board for the first time to read.
If you were to ask me now if the Mode SixtyFive is worth it I would say yes, as I am enjoying it far more than my Heavy Grail. Is that because I’m still in the honeymoon phase with the keyboard and I’ve been using my HHKB for the past 5 years? Who knows, but what I can say is that I am very impressed with how the keyboard feels, looks, and sounds; and I look forward to using it in the years to come.
Lubing: Brush, Swipe, Repeat
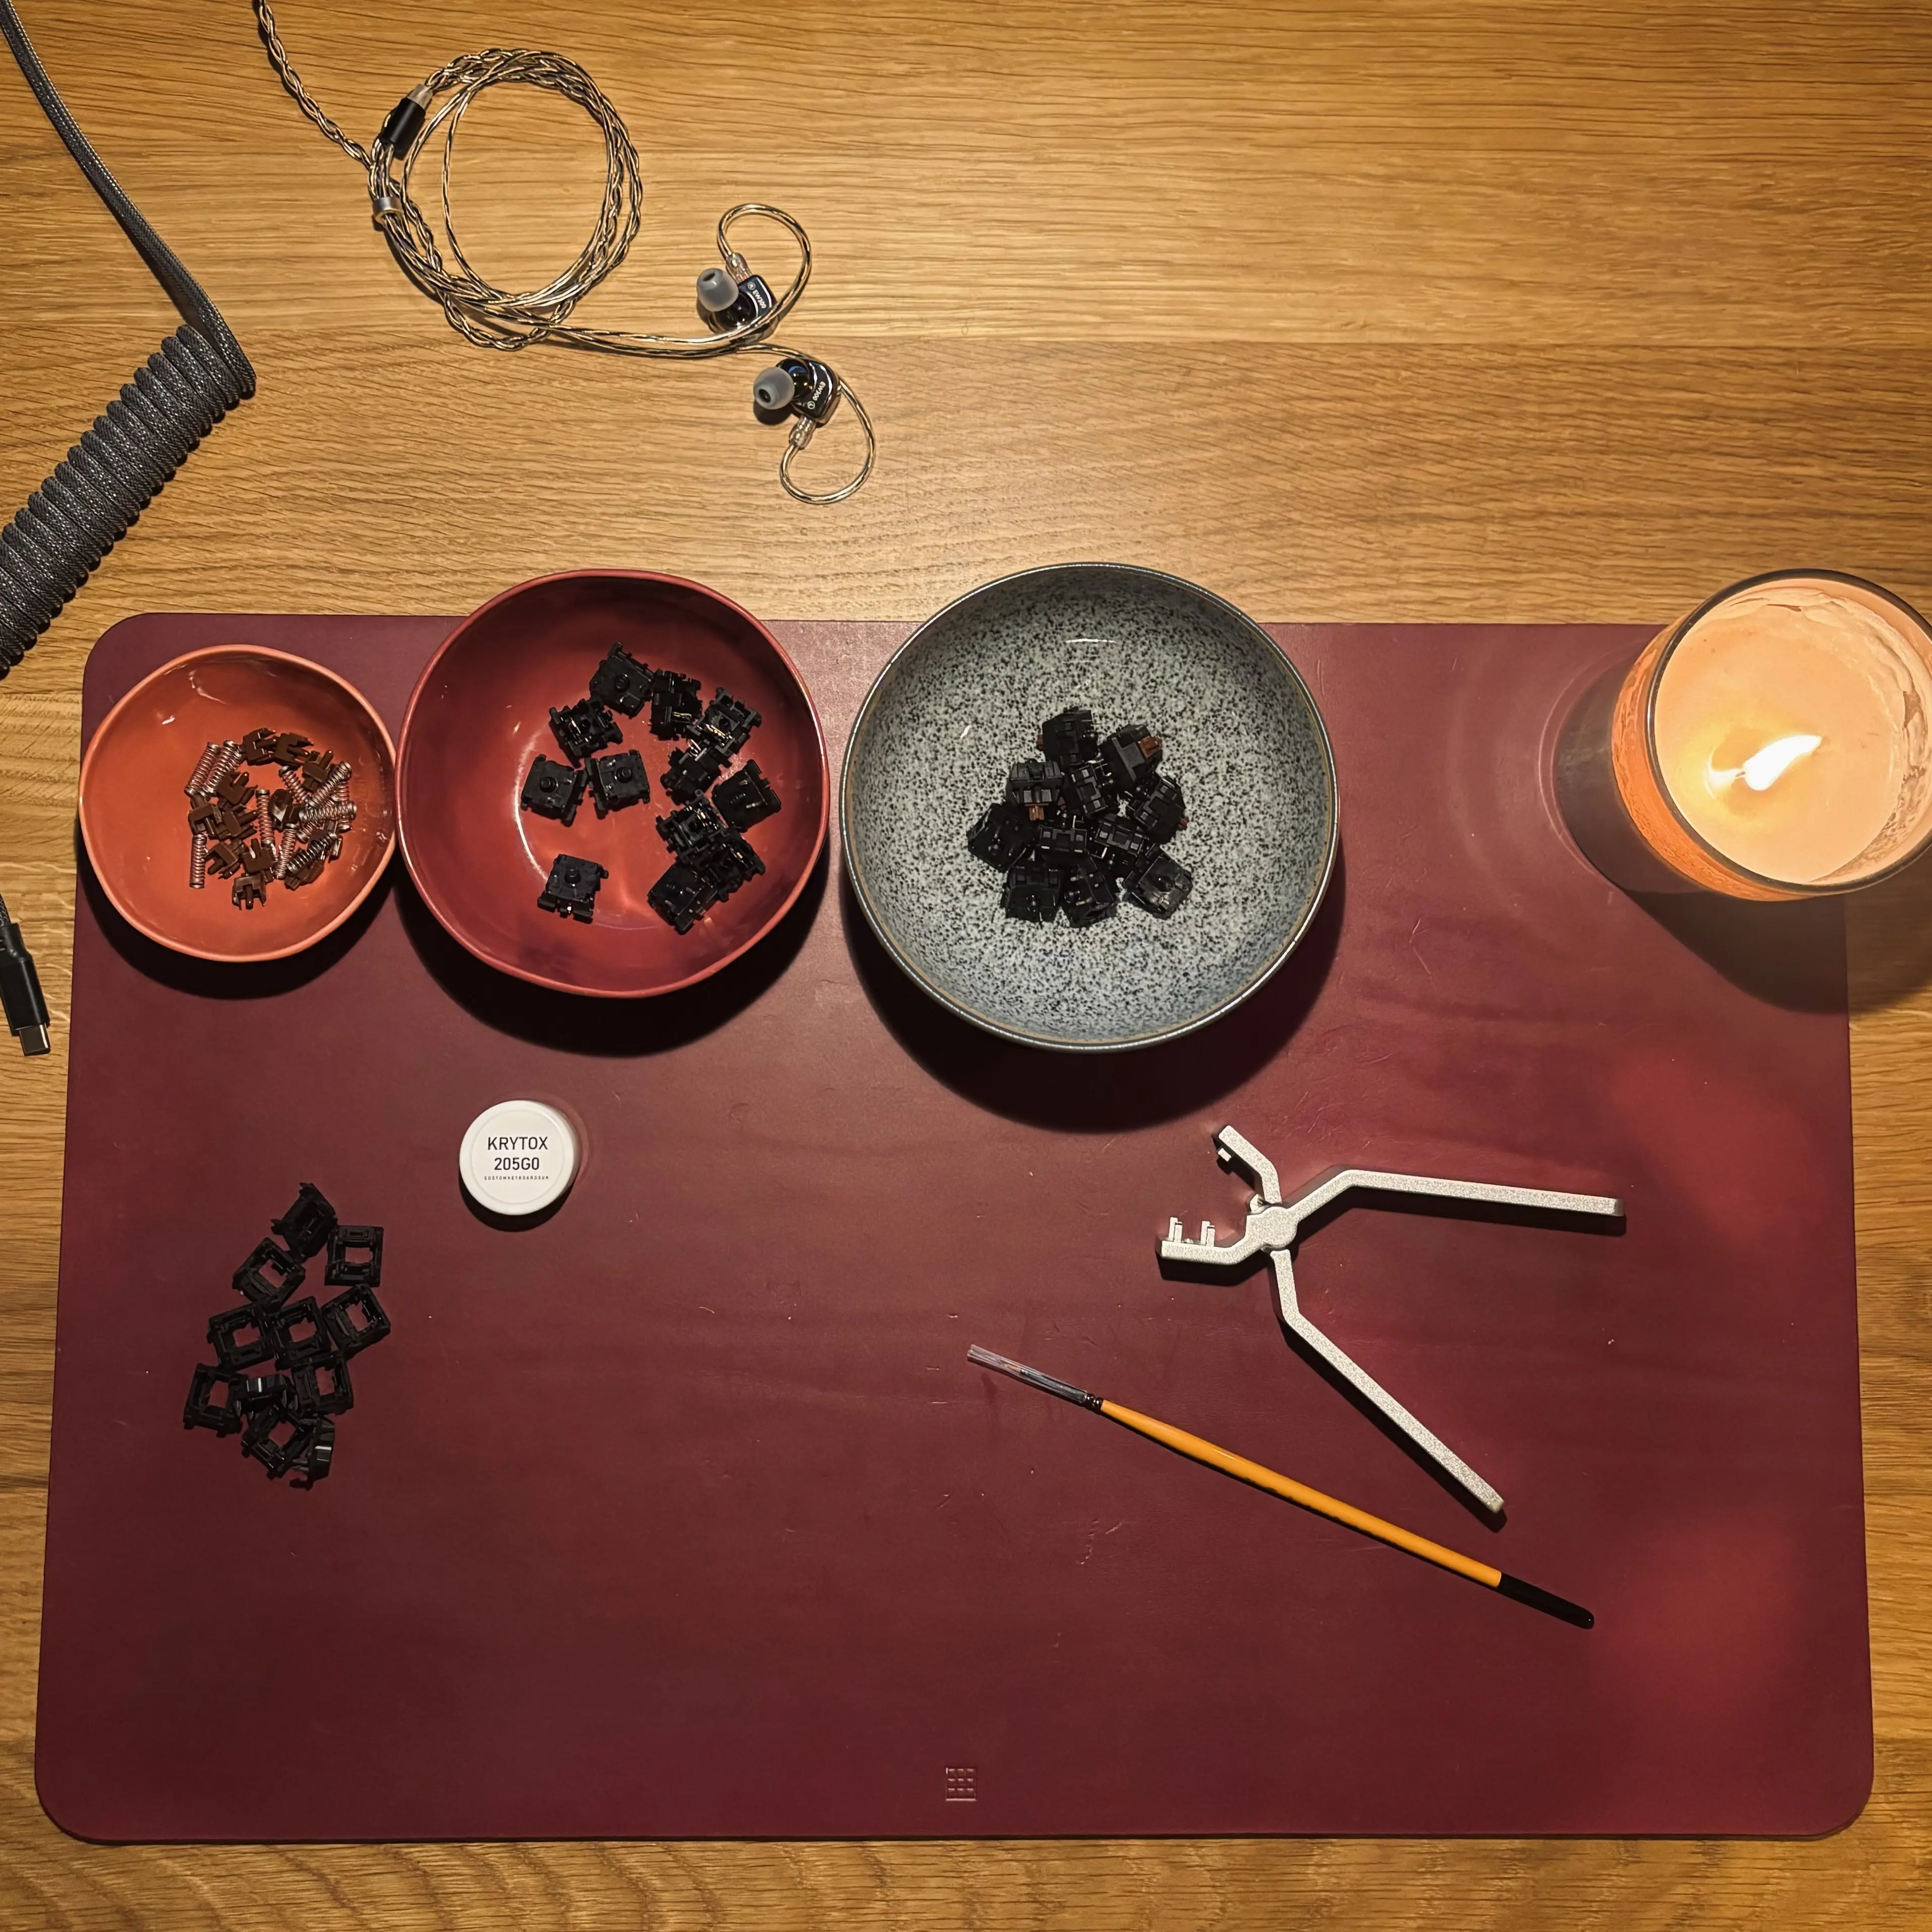
Now to cover how I lubed my switches and stabs, I’ll link the guides I used to get an overall idea on how to do this: Taeha Types - lubing MX switches, Taeha Types - lube and tune stabilisers, Alexotos - lubing MX switches, Alexotos - lube and tune stabilisers
I will say this is probably the most tedious part of the process, either you’ll need to break it up into batches i.e. do 20 switches at a time; or put on a movie in the background to keep you occupied.
If you are using MX Browns you need to lube the switch, otherwise they are very scratchy. I myself put a very light layer of lube on the switches as the tactile bump itself is quite subtle.
Soldering
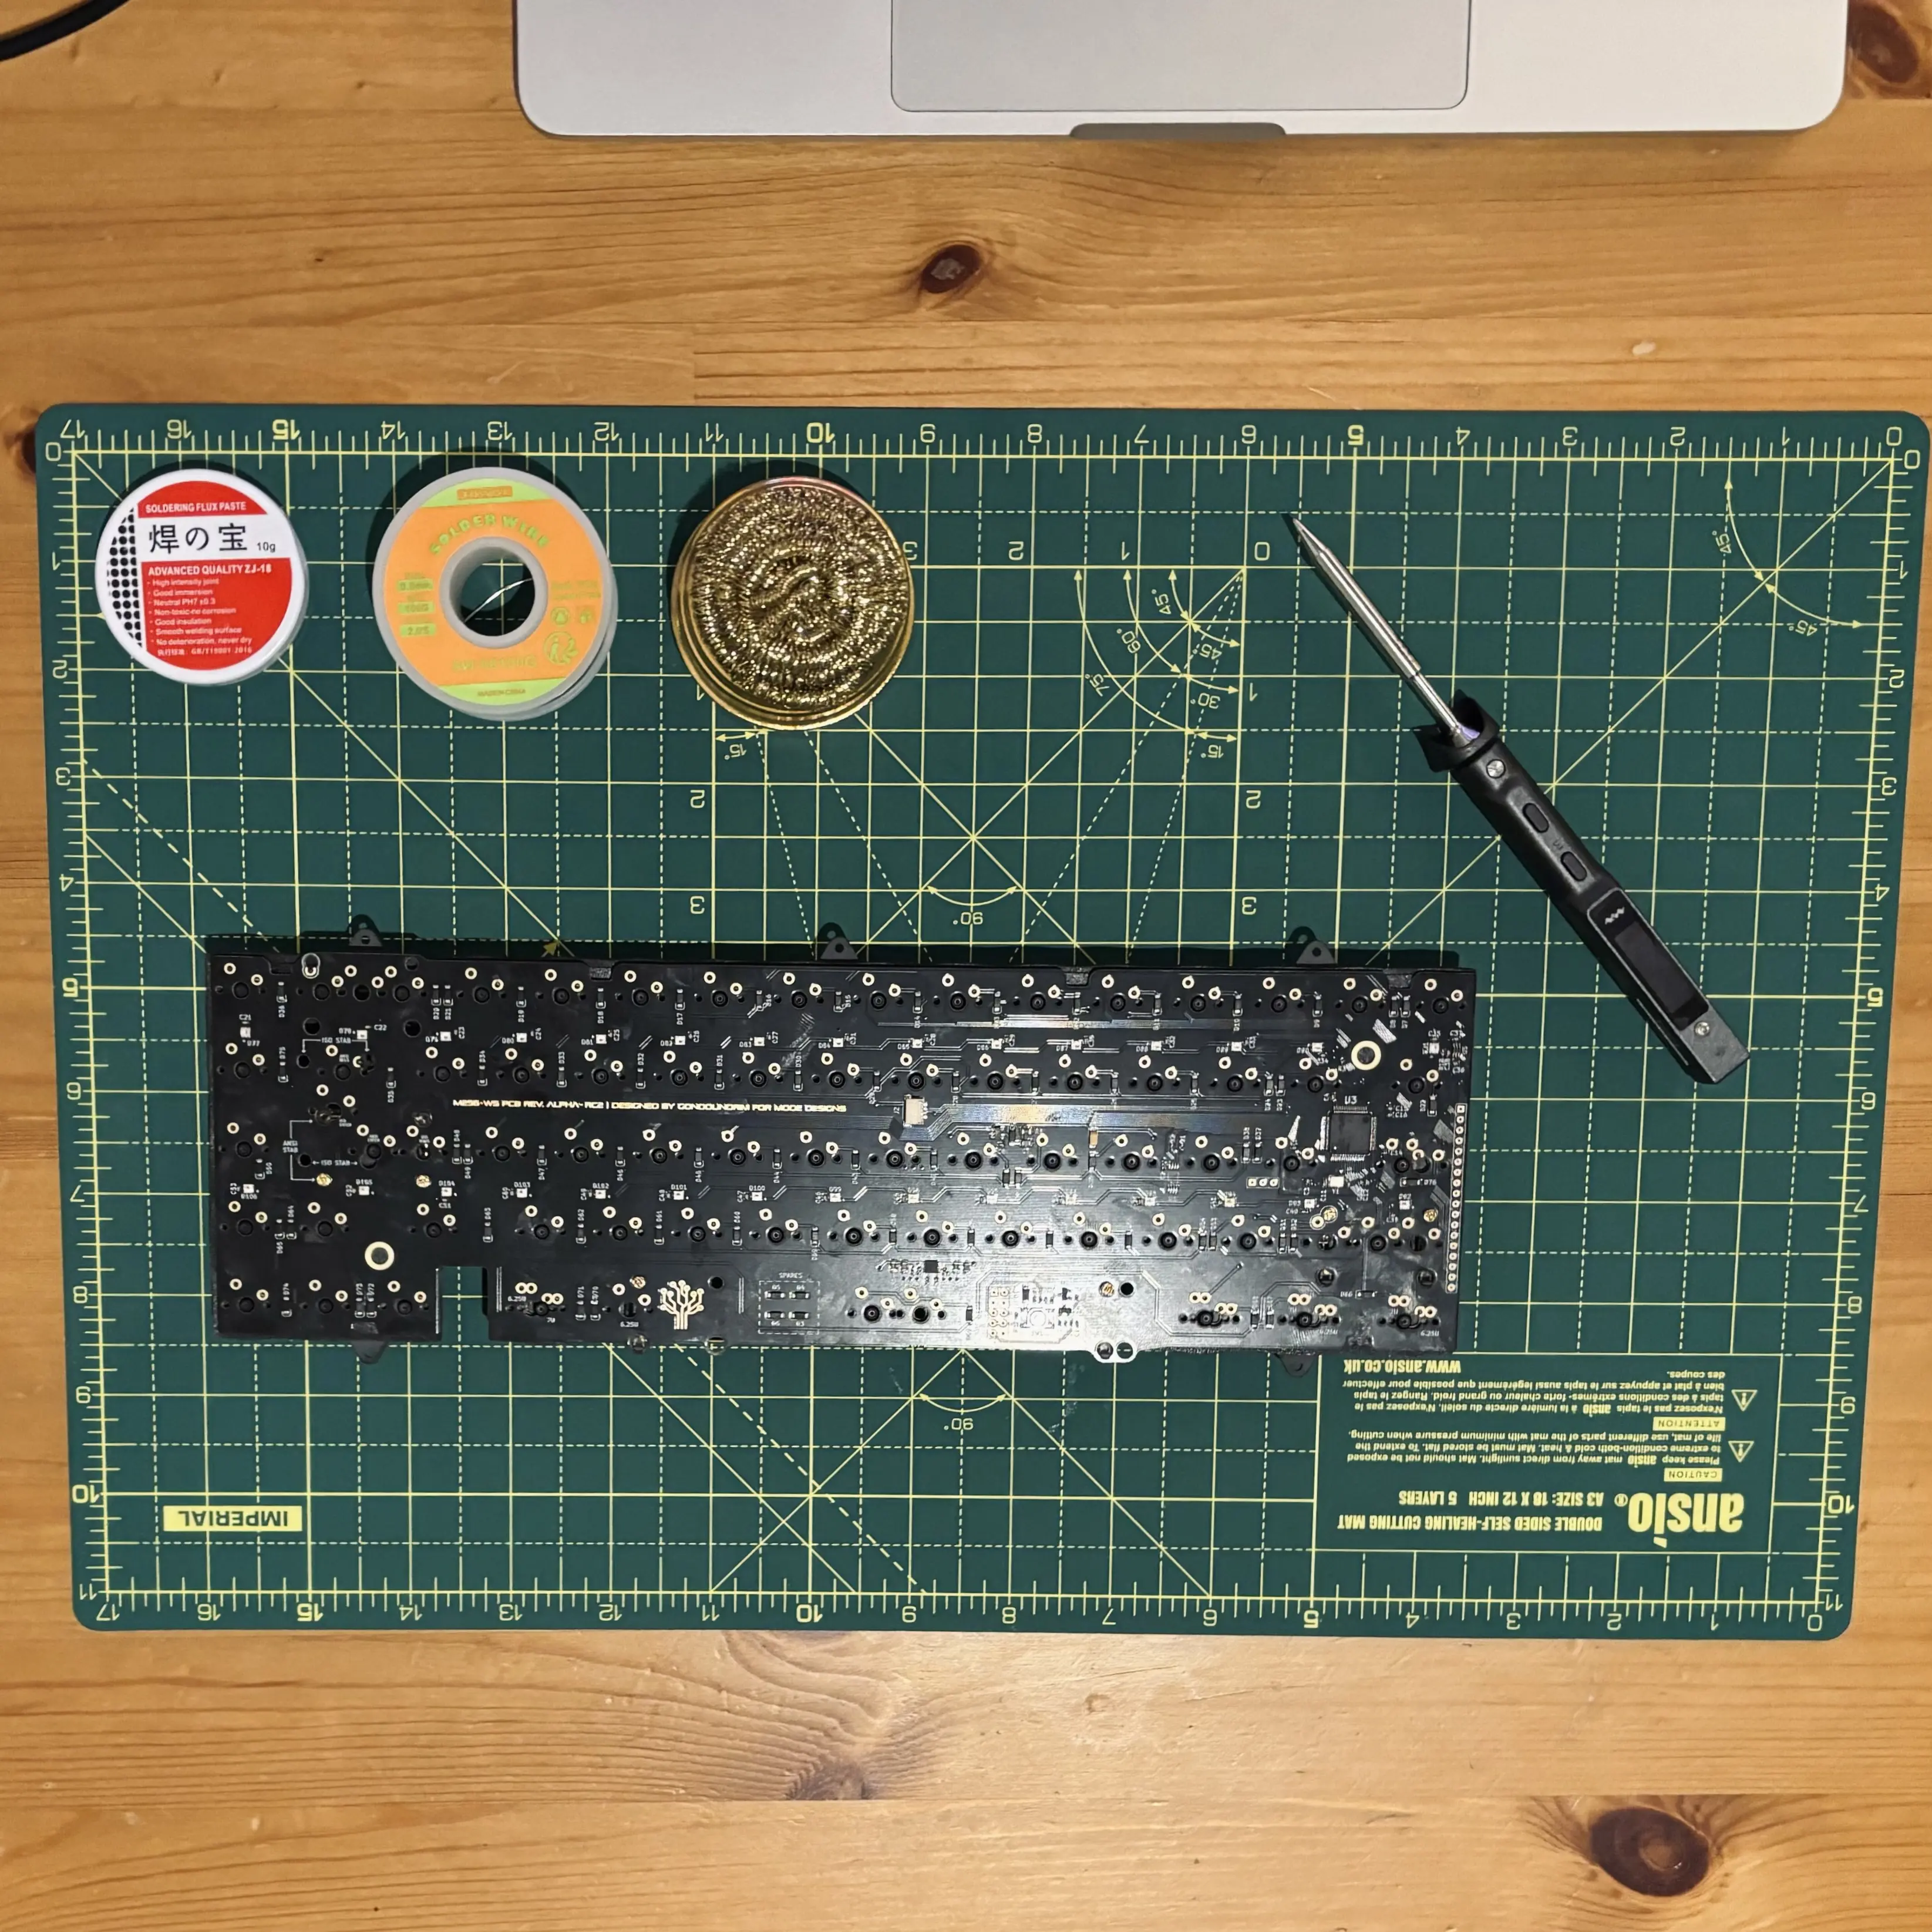
Probably the most fun yet most intimidating part of the process is soldering, admittedly for this section I didn’t really follow a guide and just went head first into the process. But if you want a guide here is one by Alexotos going over the basics of soldering.
The soldering iron I used was the TS101 which I was quite impressed with, as it can use USB-C to power the unit and it heats up pretty quick. In terms of everything else you’ll need you can refer to the guide above.
If you don’t fancy soldering your switches Mode themselves offer hotswap boards but the issue with this is that you are then faced with only having the layout the manufacturer offers. As for myself on my board I wanted the split backspace which I couldn’t have opted for if I went with the hotswap pcb. But both have there trade-offs, I guess it depends on what you want from your keyboard.
Final thoughts
Overall I would highly recommend building your own keyboard considering this is how you interact with your computer, so why wouldn’t you want to make the experience more enjoyable?
Also I suggest that you go with soldering your switches to the PCB as this opens up your options when it comes to keyboard layout or perhaps look into mill-max. For example I have a split backspace which Mode don’t offer if you were to go with their hotswap boards, plus I feel it makes the building process far more enjoyable.
Whatever you end up deciding I hope that this article has helped to ease any nerves you may have. I promise the process of building your own keyboard is highly rewarding.
Thanks, Nathan.
To keep up with my latest content subscribe to my RSS feed